Analytics
User-behaviour analytics flow through Google Tag Manager (GTM) into Google Analytics 4 (GA4). The application pushes events to the browser dataLayer, GTM matches them with Custom Event triggers, and GA4 Event tags forward them (with parameters) to GA4 using a shared Measurement ID.
Getting access
GTM and GA4 are managed under the Jesus Film Project account. To get access to the workspace, speak to an admin — you'll need to be added before you can create variables, triggers, or tags.
Adding a Custom Event in GTM → GA4
A custom event flows through three layers:
- The application pushes data into the
dataLayer. - GTM picks it up via a Custom Event trigger that reads Data Layer Variables.
- A GA4 Event tag sends the event (with parameters) to GA4 using a configured Measurement ID.
Step 1 — Push the event from the application
Push an event to the dataLayer with a unique event name and any parameters you want to capture. In Next.js apps, use sendGTMEvent from @next/third-parties/google — the event key becomes the GTM Custom Event name; other keys map to Data Layer Variables.
import { sendGTMEvent } from '@next/third-parties/google'

sendGTMEvent({
  event: 'image_upload_success',
  fileSize,
  fileType
})
In this repo, these pushes typically live in a small wrapper file (e.g. apps/<app>/src/libs/send<Thing>Event/) and are called from the relevant handler. See apps/journeys-admin/src/libs/sendImageUploadEvent/sendImageUploadEvent.ts for the image-upload example.
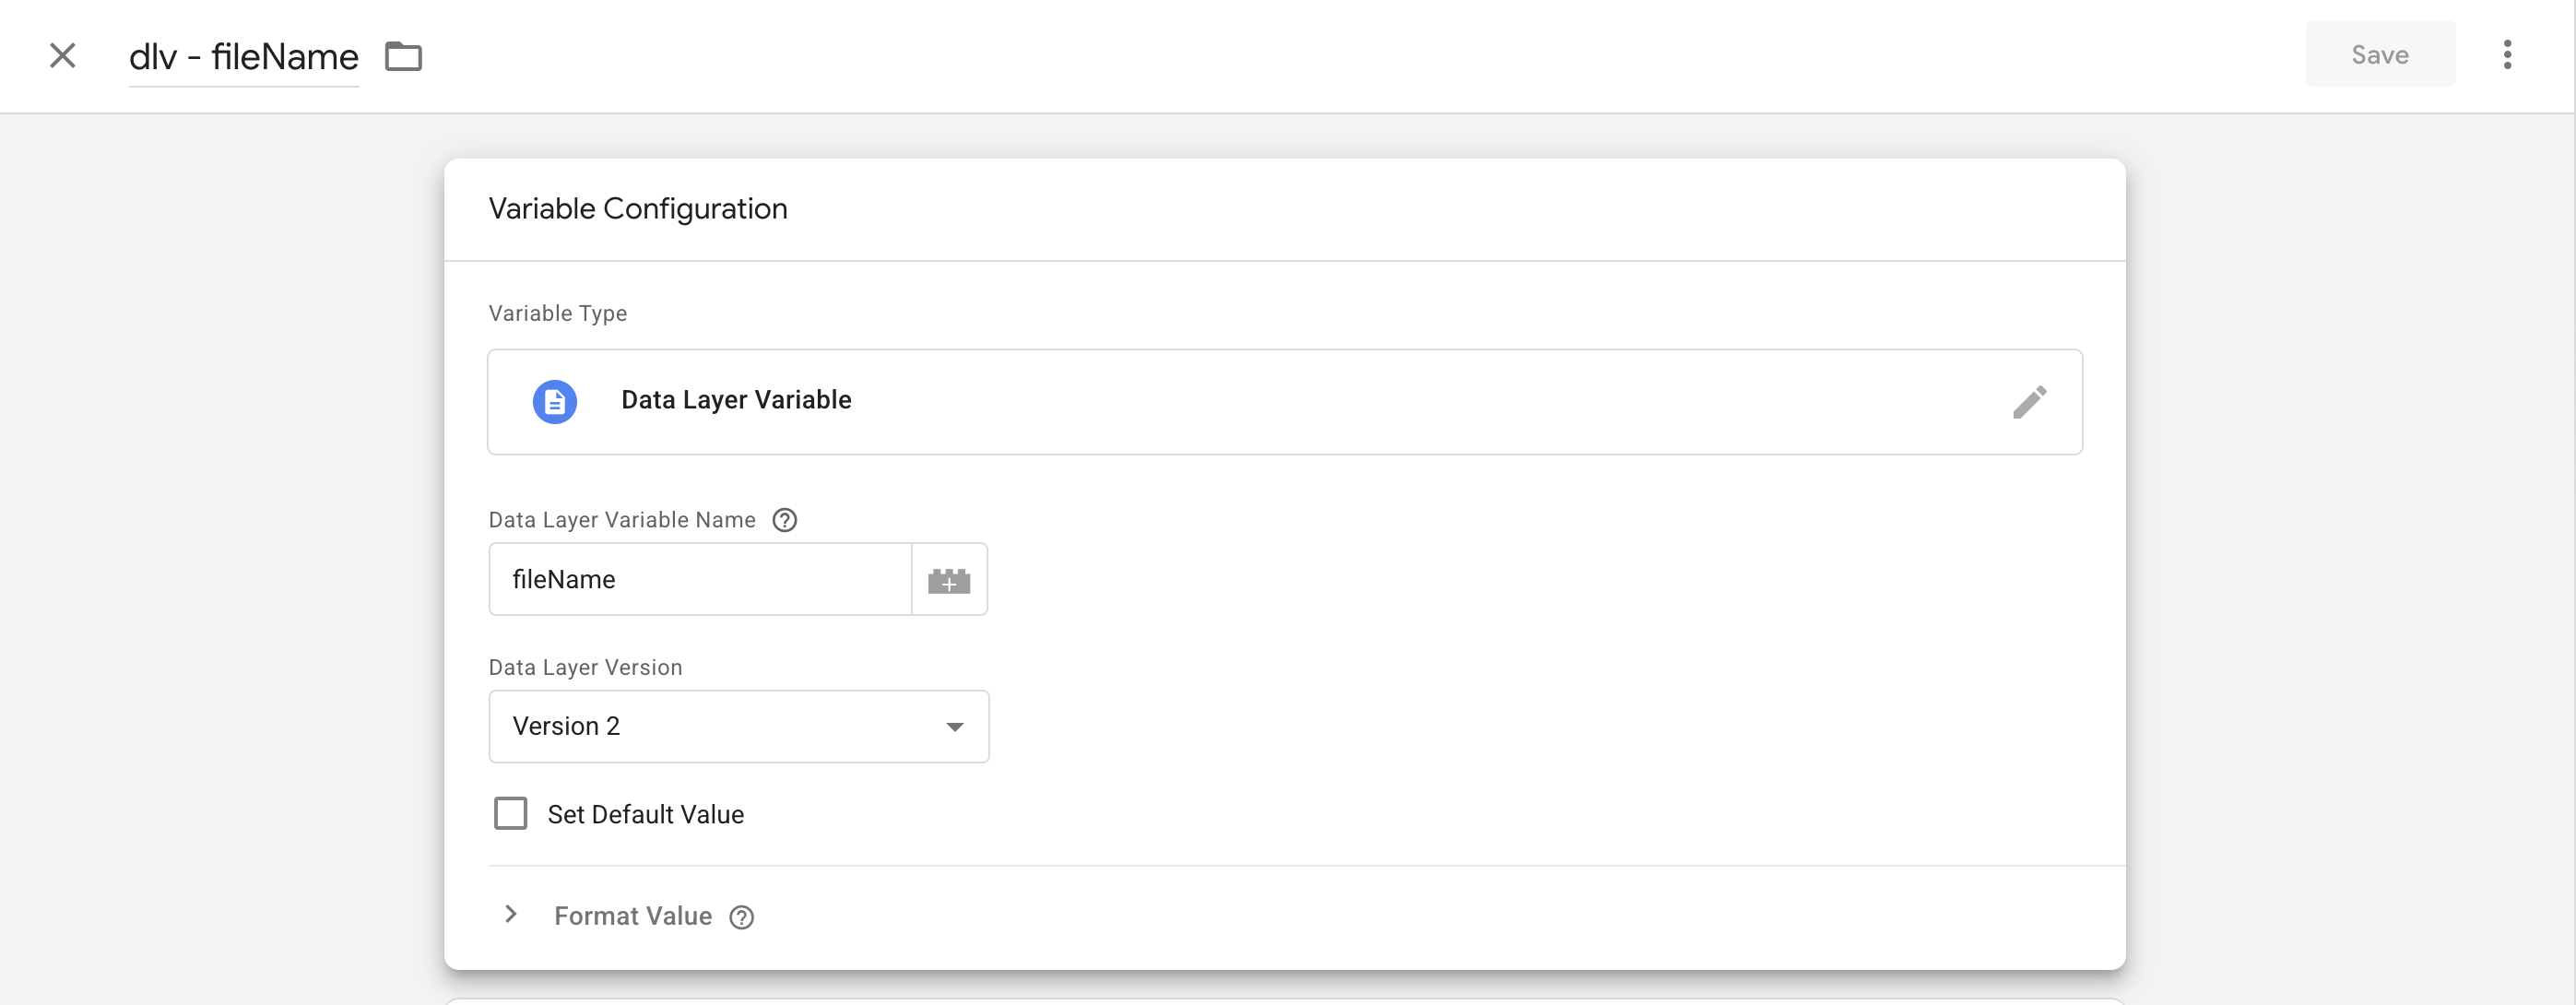
Step 2 — Create Data Layer Variables in GTM
In GTM, go to Variables → User-Defined Variables → New → Variable Configuration → Data Layer Variable, then enter the dataLayer key name (e.g. fileSize) and save.
The dlv - prefix in the variable name just stands for "Data Layer Variable" — it's a user-facing naming convention for organization, not something GTM requires.
For each parameter you want available in tags, create a Data Layer Variable that reads it from the dataLayer. In this workspace these were added as:
dlv - fileSizedlv - fileType
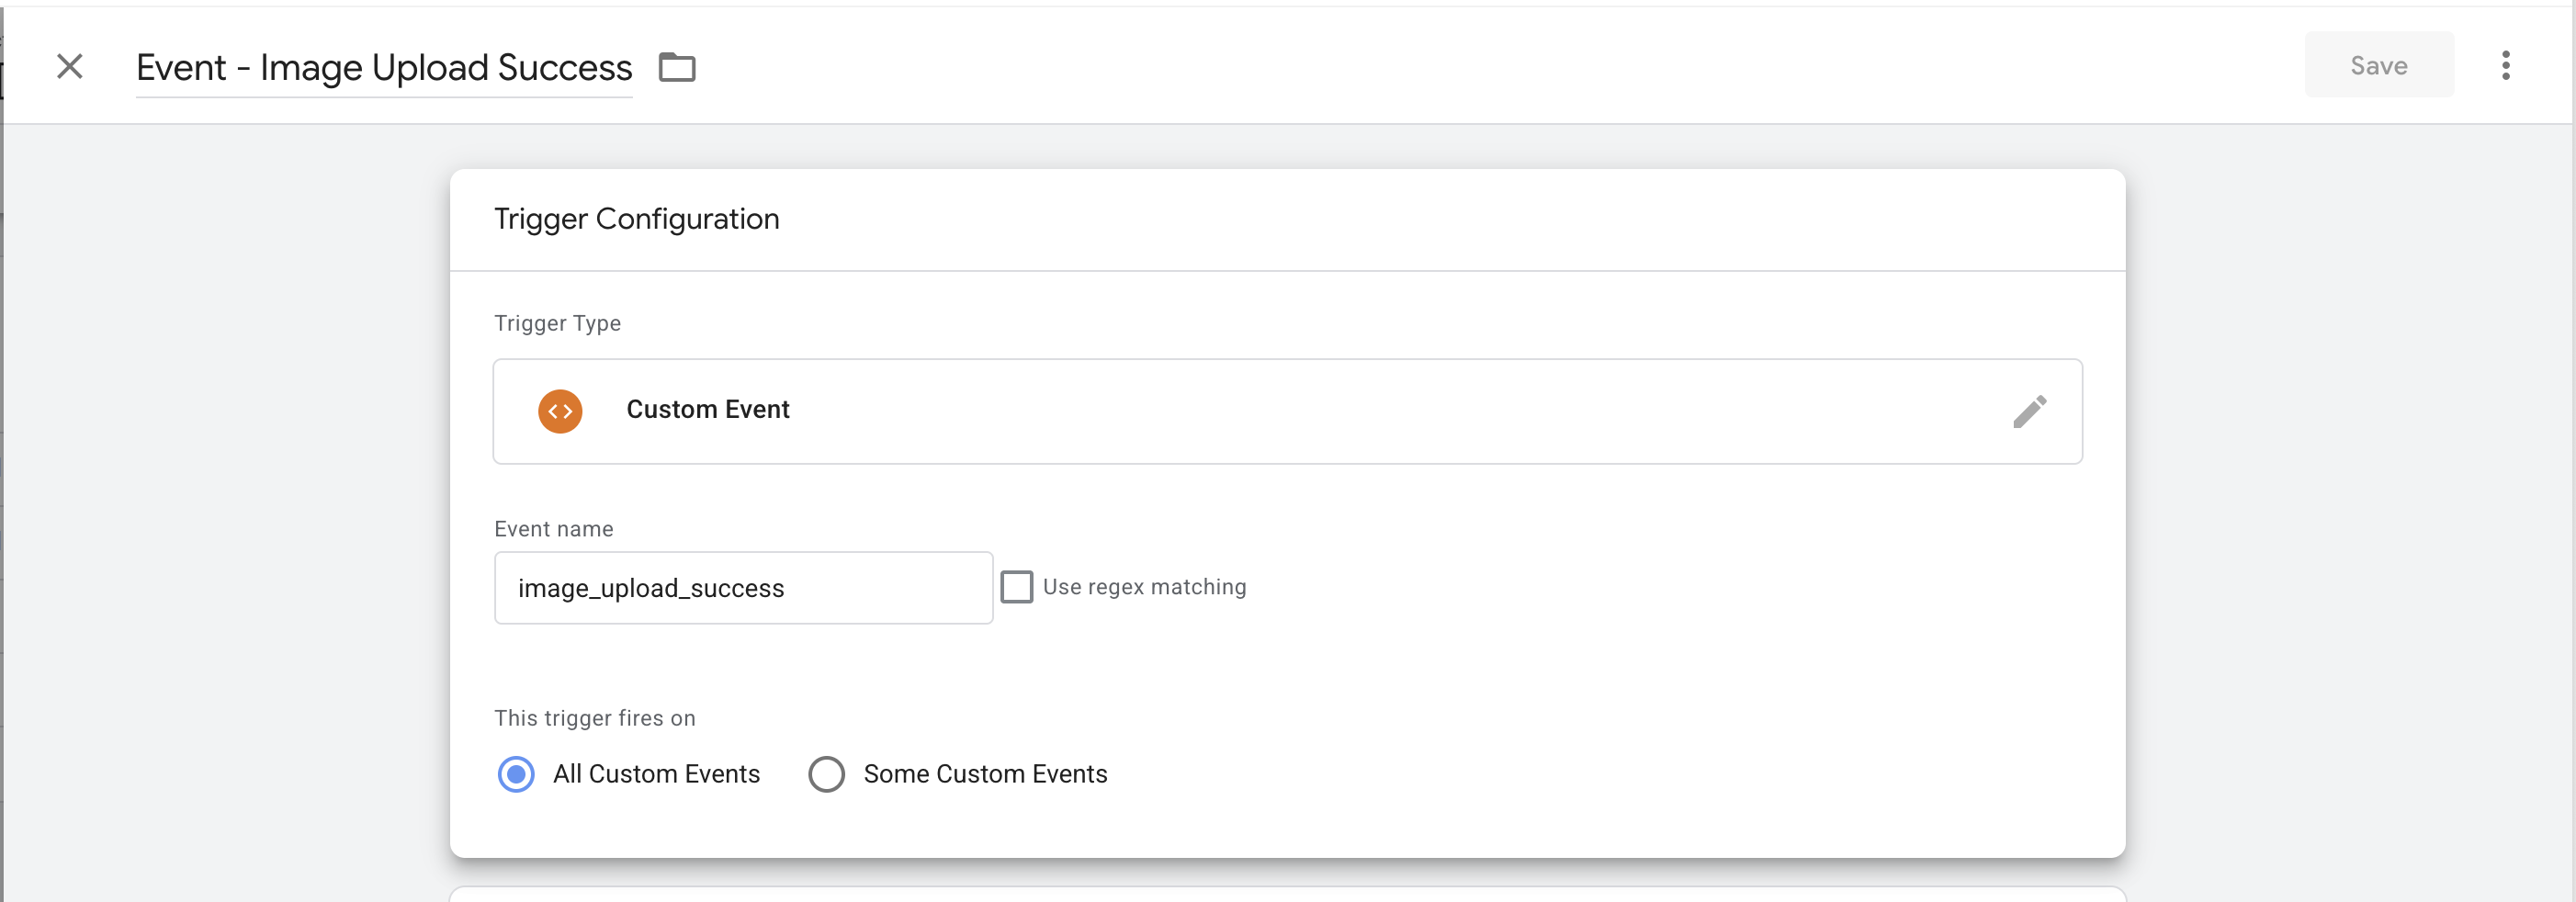
Step 3 — Create Custom Event Triggers
In GTM, go to Triggers → New → Trigger Configuration → Custom Event, enter the exact dataLayer event name (e.g. image_upload_success) in the Event name field, leave the trigger to fire on All Custom Events, and save.
The Event - prefix in the trigger name is just a user-facing naming convention for organization — it groups custom-event triggers together in the list and isn't required by GTM.
For each dataLayer event name, create a Custom Event trigger that listens for that exact event name. In this workspace:
Event - Image Upload Success(fires onimage_upload_success)
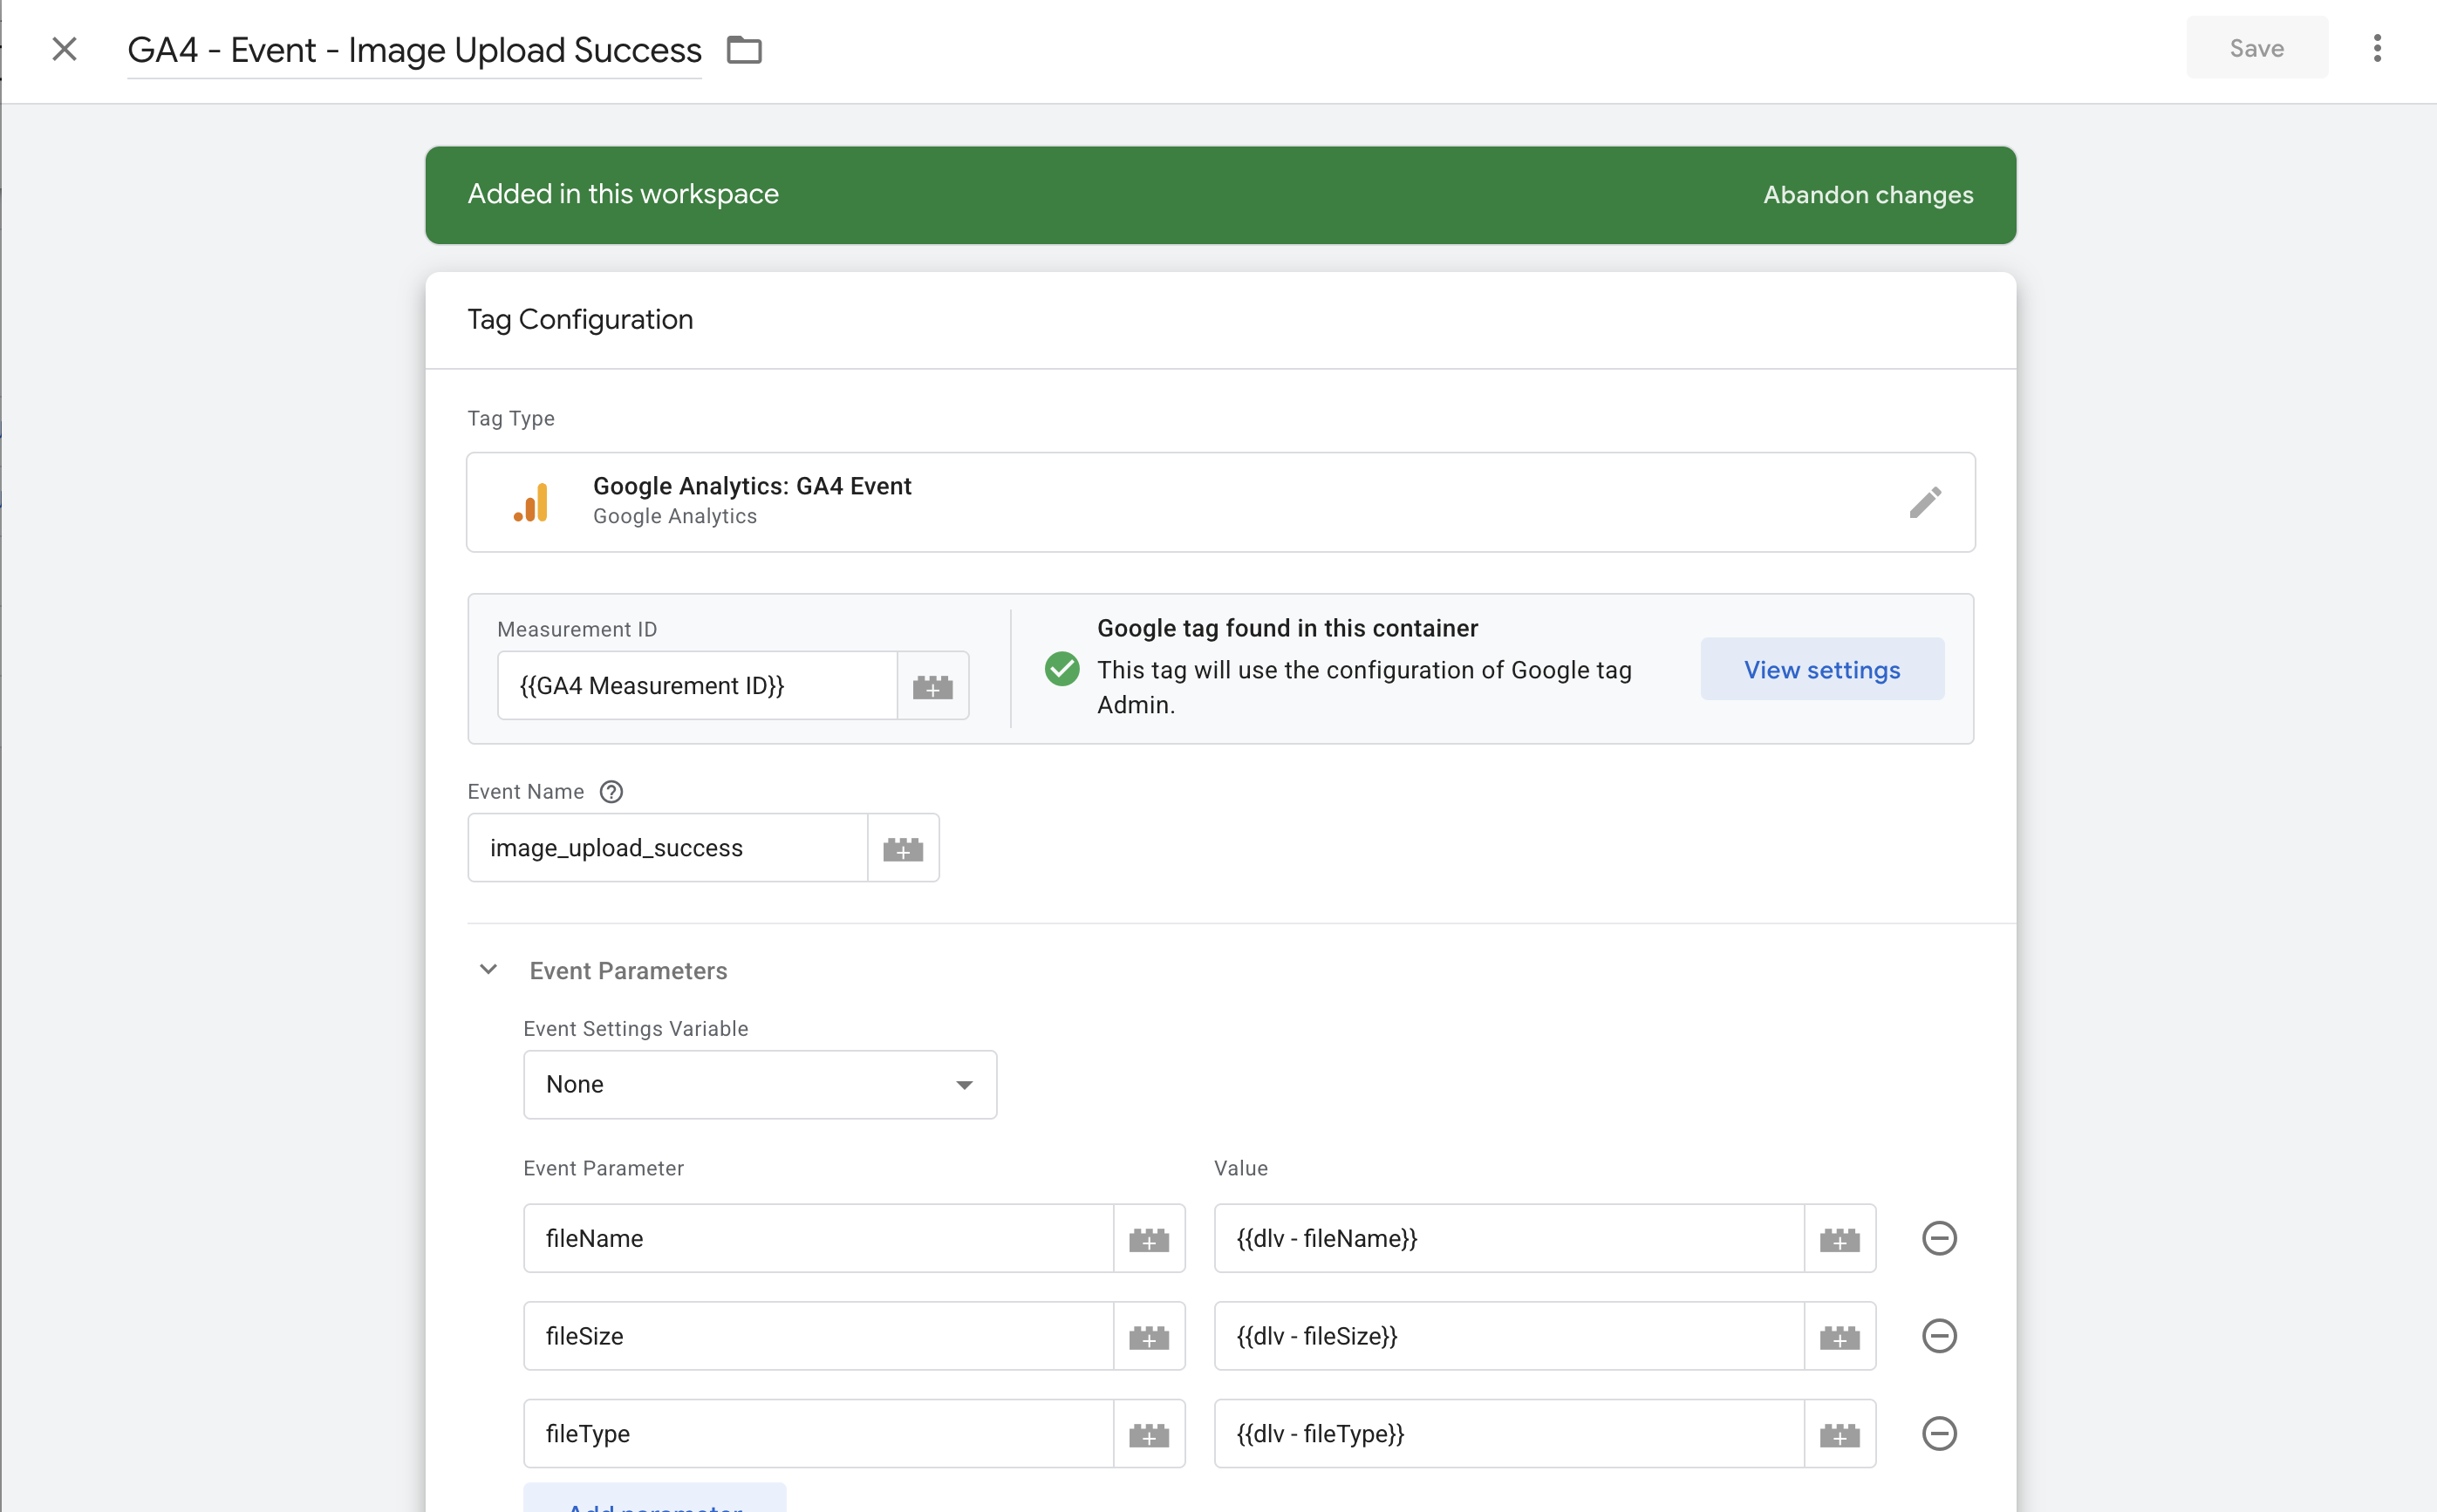
Step 4 — Create GA4 Event Tags
In GTM, go to Tags → New → Tag Configuration → Google Analytics: GA4 Event. Set the Measurement ID to {{GA4 Measurement ID}} (an existing Constant variable in this workspace), give the GA4 event a name (e.g. image_upload_success), map parameters using the Data Layer Variables created in Step 2, then attach the matching trigger from Step 3 and save.
If the GA4 Measurement ID constant doesn't exist in your container, create it via Variables → New → Constant, name it GA4 Measurement ID, and paste the GA4 property's Measurement ID. You can find it in the matching GA4 property under Admin → Data Streams — click into a data stream and the Measurement ID (format G-XXXXXXXXXX) is shown at the top of the stream details.
The GA4 - prefix in the tag name is just a user-facing naming convention for organization — it distinguishes GA4 tags from other tag platforms, and the trailing Event - keeps the tag aligned with its trigger. Neither is required by GTM.
For each event you want to send to GA4, create a GA4 Event tag. In this workspace:
GA4 - Event - Image Upload Success→ triggered byEvent - Image Upload Success
Step 5 — Preview, test, and publish
Before publishing, install the Tag Assistant by Google Chrome extension. It connects your browser to GTM's Preview mode so you can see which tags fire on a real page load, inspect the parameters being sent, and confirm the dataLayer push looks right — without it, GTM Preview can't attach to the site.
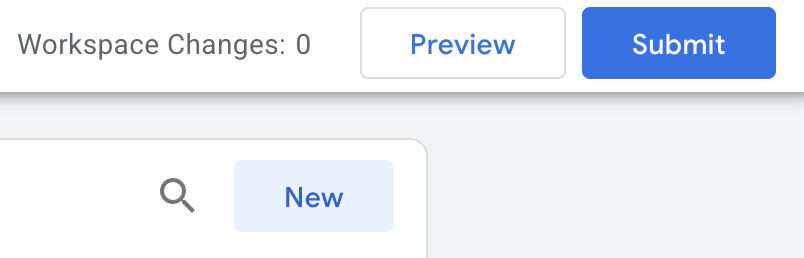
Open Preview mode from the Preview button in the top right of the GTM workspace:
Make sure the app you want to test is already reachable before you click Preview — Tag Assistant needs a live URL to attach to. Enter the target URL for whatever environment you intend to preview: a local dev server (e.g. journeys-admin at http://localhost:4200/), a Vercel preview URL, stage, or prod.
Use GTM's Preview mode (with Tag Assistant connected) to fire the event in your app and confirm the tag fires with the right parameters. Then verify the event appears in GA4 — open the GA4 property and go to Admin → Data display → DebugView (or Reports → Realtime for live events). Once confirmed, Submit changes with a clear Version Name and Description, and publish to the Live environment.
Troubleshooting
Tag Assistant connects but no tags fire. An ad blocker or browser privacy setting is likely blocking the GTM/GA4 trackers. Disable any ad-blocker extension for the target URL, or in the Dia browser go to Settings → Privacy and uncheck tracking protection, then reload the page.
Step 6 — Replicate to stage and prod containers
Once the new variables, triggers, and tags are working in the current container, repeat the setup in the stage and prod containers. The fastest way is to export the new items from the current container and import them into the others rather than recreating each one by hand.
To export from the source container, in GTM go to Admin → Container → Export Container. On the next screen, pick either the current workspace or the published version you just shipped, then select all the container items that were added (the new Data Layer Variables, Custom Event triggers, and GA4 Event tags) and click Export. GTM downloads a .json file.
In the target container (stage or prod), go to the same place — Admin → Container → Import Container — choose the exported .json file, then pick either Overwrite or Merge. Prefer Merge: it shows a preview of exactly what will be added, modified, or deleted before anything changes. Review that summary and confirm only the expected items are listed.
Because the imported GA4 Event tag references {{GA4 Measurement ID}} by name, GTM resolves it to the target container's own constant of that name on import — so stage tags use stage's Measurement ID, prod tags use prod's. This only works if each target container already has its own GA4 Measurement ID constant set to that environment's GA4 property (see Step 4 if it's missing). If the constant doesn't exist in the target, GTM will create one from the source's value during merge, which can silently point stage at prod's GA4 — review the import preview for any new GA4 Measurement ID variable being added.
After the import, do a final check over the imported items — most importantly, open each GA4 Event tag and verify the Measurement ID is pointing to the correct one for that environment. Then preview and publish that container the same way as Step 5.
Step 7 — Register custom dimensions in GA4 (at the same time as the GTM setup)
GA4 stores every event parameter your tags send, but a parameter only becomes usable as a filter or breakdown in reports and Explore after it is registered as a custom dimension — and registration is not retroactive. It applies to data collected from the registration date forward: events recorded earlier keep their counts, but can never be broken down by a parameter that wasn't registered at the time. A later BigQuery link doesn't recover it either — the export also only starts flowing from the moment the property is linked.
So decide which parameters you may ever want to filter by, and register them as part of the same change as the GTM setup, before the feature ships.
In the GA4 property, go to Admin → Data display → Custom definitions → Create custom dimension. Enter a dimension name, leave the scope as Event, and set the event parameter to the exact camelCase key sent in the dataLayer. Repeat per parameter.
Always fill in the Description field. GA4 gives a dimension no other context — someone browsing Custom definitions later has no access to the codebase, the GTM container, or this doc. Write the description so it stands alone:
- Name the product/app and the feature the value comes from (e.g. "NextSteps admin template gallery").
- Say where in the UI the value is set or the action happens.
- List the possible values when the set is small (e.g.
mux,link,none). - Don't reference internal event names, dataLayer keys, or repo terms — they mean nothing inside GA4.
- Keep it within GA4's 150-character description limit.
Example, for a location parameter:
Where in the NextSteps admin template gallery a collection's public link was copied: the edit dialog or the publish success dialog.
Notes:
- Custom definitions are per GA4 property. Each environment has its own property, so repeat the registration in every property that needs the breakdowns (at minimum prod).
- Register low-cardinality parameters (types, locations, slugs). Avoid unbounded IDs — every unique value becomes a dimension row, and high-cardinality dimensions make reports unusable.
- These are custom dimensions (text values you slice by). A numeric parameter you want to sum would be a custom metric instead — same screen, different tab.
- Newly registered dimensions can take ~24–48 hours to appear populated in standard reports. DebugView shows raw parameters immediately, registered or not.
Naming Conventions
| Item | Convention | Example |
|---|---|---|
| Data Layer Variables | dlv - <camelCaseKey> | dlv - fileSize |
| Triggers (Custom Event) | Event - <Title Case Description> | Event - Image Upload Success |
| GA4 Event Tags | GA4 - Event - <Title Case> | GA4 - Event - Image Upload Success |
| Constants / config variables | Plain descriptive names | GA4 Measurement ID |
| GA4 event names (sent to GA4) | snake_case | image_upload_success |
dataLayer keys | camelCase | fileSize, fileType |
| Versions | Short, human-readable change summary | GA4 Image Upload Event Tracking |
- GA4 event names use
snake_caseto match Google's recommended convention and how GA4 displays events. dataLayerkeys usecamelCaseto match typical JavaScript object property style.- GTM auto-assigns a numeric version ID, so version names don't need to include one.